
One of my all time favorite snacks is yogurt, especially fruit on the bottom strawberry Chobani. Only problem is that I feel guilty every time I eat one. Why? Basically they go against a lot of the new guidelines that I set for myself. In the grand scheme of things Chobani is one of the better yogurt option on the market but I still felt bad for the following reasons:
- Chobani is non-fat yogurt - I don't do non-fat, low fat or skim anything for a number of reasons but they all break down into 3 main categories: if it was suppose to be fat free God would have made it that way, fat makes everything more delicious and fat is necessary to absorb a number of vitamins and minerals. (So all you guys eating salad with fat free dressing, it's not doing ANYTHING for you)
- Too many ingredients - I looked up the ingredients here. I'm always skeptical when a label says "natural flavors". What exactly does that mean? Also, groupings such as, fruit and vegetable juice concentrate, makes me leery. Why can't they just say what fruit and vegetable juice concentrate it is? And what is locust bean gum? My new rule is to try to stay under 5 ungrouped ingredients that I can readily identify.
- It's expensive - I don't know about where you live but in Southeastern Michigan, Chobani yogurts are usually retail for $1.50 each. We eat a lot of yogurt, $1.50 adds up rather quickly.
So I set out to make my own fruit on the bottom yogurt that was just as tasty, cheaper and better for my family. I think I did a pretty good job AND it's super easy.
Homemade Fruit on the Bottom Yogurt
Makes a dozen 5.6oz yogurts
- 20 oz frozen fruit (preferably organic), I used strawberries
- 1/4 cup honey
- 1 quart yogurt (preferably raw and/or homemade)
Just as an FYI 20 oz of frozen fruit is usually two of the smaller bags.
Dump the frozen fruit and the yogurt in a sauce pan, pour on honey.

Cook for about 40 minutes on medium heat stirring occasionally. It will get frothy.

Let fruit sauce cool completely then divide evenly amount containers.
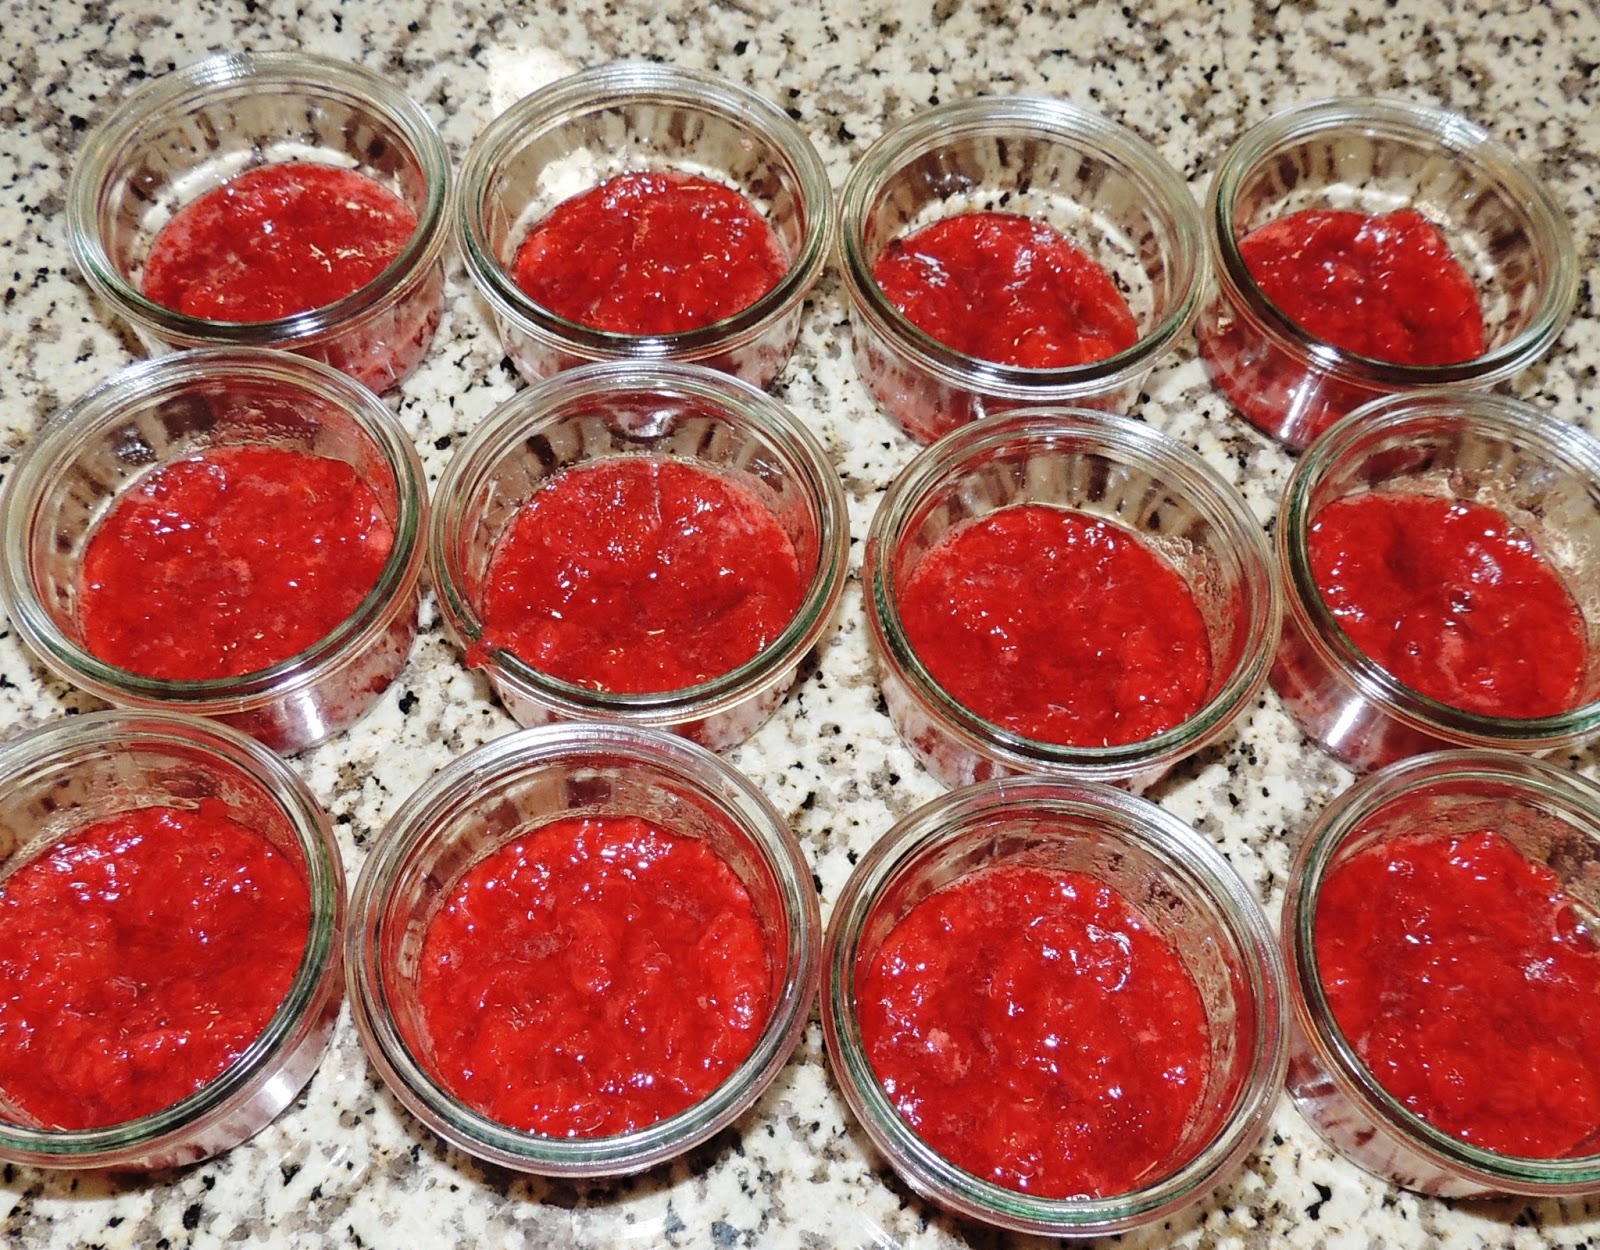
Top with yogurt and either enjoy now or store and enjoy later!

It's that simple. I recently discovered Weck jars, which are what I store my yogurts in. They're canning jars typically used in Europe but, like our beloved mason jars, have lots of other uses. I really like these because they have glass tops. I don't know if you heard but apparently there's BPA in the lids used for mason jars (depressing, I know).
I think this will work with any fruit. We like strawberry so that what I made but you might like something else. Let me know how it turns out.
Until next time,
Kellan


