Showing posts with label experiment. Show all posts

Wednesday, March 30, 2011

Making Body Butter Bars


I have a project that I've been meaning to do for quite a while now. I had all the supplies, I worked out my process, everything was ready to go...........then 3 months went past. In the last three months I forgot all about my project, I have so many that's not a hard task for me but when I was reading Keeper of the Home yesterday my project came back to me. YES!

This idea originally came to me after my soon-to-be-husband fell in love with the Buffy Body Butter Bar from Lush. He didn't care so much about the exfoliation aspect, but he really enjoyed being able to moisturize in the shower. I was really happy that he enjoyed Lush's product (I like stuff from Lush, I figured it would be easier for me to get away with buying stuff from there), but they are $12 each. That was a cost that I couldn't stomach to pay all the time (and I didn't particularly care for the scent either). I found this great informative youtube video on how Lush makes its body butter bar and knew I could do it at home myself.

Body Butter Bars

You'll Need
Mold (I used a silicone cupcake tin)
Double boiler of some sort
Shea Butter
Coconut Oil
Beeswax

1) Determine how much weight your mold can hold. I did this by placing my mold on my kitchen scale, hitting tare, and pour water in to the desired fullness. If you're using something like a cupcake tin, or something with multiple cavities you can just fill one and then multiply by the number of cavities. My cavities held 2 oz of water, so I needed a total of 24 oz of oils.

2) Measure oils. I decided that I would use equal parts of beeswax, shea butter and coconut oil, so I measure out 8 oz of each.


**NOTE: When buying beeswax, it's probably better to buy the pastilles or 1 oz blocks. I bought the 1 lb blocks because they were cheaper (I regret that decision). It took me 10 minutes to figure out how I was going to break down that block of beeswax. I ended up just breaking it into pieces with a hammer.**


3) Melt oils. You can do this step however you feel comfortable. Options include in the microwave, crockpot or using some sort of double boiler. My double boiler was actually a steaming pot that I set a 4 cup, glass Pyrex measuring cup in (it made for easy pouring).

I did find that the oils melted faster if I put the lid on. Also the beeswax takes the longest to melt so you might want to put that on the bottom.
This is what everything looks like when it's melted. Those little bits on top are beeswax that didn't fully melt. (Don't worry about them)

4) Pour melted oil into mold.

5) Put mold in freezer. My bars were completely cooled in 33 minutes. (I know because that's exactly how long I was exercising)

6) Remove from mold and enjoy! After taking my bars out the mold, I wrapped the ones I didn't intend to use right away in wax paper and put them in the freezer. The one I'm currently using is in a metal tin in my bedroom.


That's it. It's super easy and doesn't require a lot of work. I guess the real question is economical is this?

7 lbs coconut oil: $17.95
5 lbs shea butter: $50.85
5 lbs beeswax: $52.60
7 lbs = 112 oz
5 lbs = 80 oz
17.95 / 112 = $0.16/oz coconut oil
50.85 / 80 = $0.64/oz shea butter
52.60 / 80 = $0.66/oz beeswax
($0.16 x 8) + ($0.64 x 8) + ($0.66 x 8) = $11.68 for 12 body butter bars
OR 
$0.97 per bar

Not to toot my own horn but I don't think anyone could deny that this wasn't a successful experiment. Up next I'm going to be making stick deodorant. I just have to find some of those little tubes first. 

Until next time, 
Kellan


Thursday, December 2, 2010

Using Leftover Turkey: Day 1 - The Cats

My first use of the turkey requires no actual work. How is that possible you ask? Well because I fed turkey to the cats.
Aren't they cute? This is actually a pretty old picture. Jack Bauer (the black and white one) was little and cute then, he's still cute but FAR from small.
Within the last year or so I noticed that the cats would vomit pretty much whenever they ate. We switched cat food and nothing changed, the vet said they were fine so we assume that just had a hairball problem. We got all the special hairball treatments, nothing helped so finally we just accepted this was our life. Well about two weeks ago we ran out of cat food and I didn't feel like going to the store (lazy, I know) so I gave them shredded chicken. They loved it but even better no vomiting. I continued feeding them either chicken, turkey or tuna for about 10 days, eventually I went to the store and bought a small bag of food. Within 5 minutes of pouring the food in their bowl the vomiting began. Now at this point I have to conclude, even though this wasn't an official experiment, that something in cat food is making them sick. I know that I can't deal with preservatives and artificial ingredients so maybe they can't either. 

I'm sure there are some people who would say that I shouldn't feed my cats straight meat but cats are carnivores. They don't need vegetables and fruit, if you tried to feed a cat whole, unprocessed fruit and vegetables they won't eat them. At one point I considered feeding my cats Blue Buffalo cat food but even they have other ingredients besides meat AND it's really expensive. In my area, a 2.5 lb bag is $10, do you know how much meat I could buy them for $10?

I've haven't gotten to a point where I feed them raw meat yet. As of right now I still cook it but eventually we're moving to the raw. 

Until next time,
Kellan

Monday, November 29, 2010

Using Leftover Turkey: Prep Day

I know that I was supposed to be doing a week of bread next..........but after making 20 dozen rolls for Thanksgiving, I'm really not feeling making ANY bread for at least a week. When we were cleaning up from Thanksgiving dinner my grandmother gave me the turkey carcass, she figured I could do something with it. I hate to disappoint so I'm going to make as many turkey dishes as I can with the carcass.

As with any carcass, the first use is to make stock.

Isn't that beautiful? Making this stock was crazy easy, I put the carcass in the slow cooker, filled with water and let it cook on low overnight. I turned the slow cooker off around 10:30 this morning but I didn't pick the turkey until 7 pm. Why the long wait? 1) I've been doing laundry and forgot. 2) I don't like burning myself (don't ask).

WARNING: picking turkey is not pretty or fun. There's no gadget that you can use for this, so mentally prepare yourself and stick your hand in. All you have to do is separate the bones from the meat. Sounds easy right? It is..............just do it and don't think about it.
Once you've finished separating the meat from the bones strain your stock and your done! Super easy right?

I'll be back tomorrow with use #1 for leftover Thanksgiving turkey. 

Until next time, 
Kellan

Wednesday, November 17, 2010

The Chicken Experiment - Final Thoughts

The rest of my week wasn't quite as successful, mostly because I wasn't feeling all that great.

Tomato Soup
I used some of the stock I made to make tomato soup from a recipe I saw on Keeper of the Home. When I was originally reading the recipe I was trying to figure out what the baking soda was for. I didn't realize until I was actually making the soup that the baking soda was to neutralize the acid in the tomatoes. Since I used tomatoes that I canned myself, they had a little extra acid from the lemon juice I put in bottom of all my jars. Overall, the soup was really good but thin. I ended up reducing mine by a lot. I will definitely make this soup again but I'm only going to use about 2 cups of stock instead of 4.

Chicken & Broccoli Fettuccine Alfredo
I was reading one of my favorite blogs, Heavenly Homemakers, and found a great recipe for easy alfredo sauce. When I saw it, I had to make it. As I've said before, I LOVE TO EAT and one of my favorite things is alfredo sauce. That's not to say that you can slop alfredo sauce on anything (I once ordered the blackened cajun chicken alfredo from Red Lobster, it was horrible).

Ingredients:
half a chicken worth of picked chicken
1 batch of Heavenly Homemakers easy alfredo sauce
1/2 bag of frozen broccoli
fettuccine noodles

Make the alfredo sauce first, then throw in the chicken and frozen broccoli.
Turn the pot on medium/low, put a lid on and let everything hang out for about 15 minutes.
Cook the amount of fettuccine you feel is adequate. (I personally like more sauce and toppings than pasta so I don't make a lot but that's up to you)
You really don't have to drain the pasta, I fished mine out with tongs and threw it directly into my sauce.
Mix everything together and serve.

It's tasty, delicious and super easy.

At this point we had been eating chicken for a little over a week. I couldn't think of anything else to make and honestly I was a little tired of chicken. So I fed the rest of the chicken to the cats. I recently discovered that feeding them cat food was making them sick so I've been feed them tuna, chicken and turkey (cats are carnivores). They were quite pleased. They had been eyeing the chicken since I brought it home.

Final Thoughts
I definitely think I proved my original theory that we could eat off two chickens for a week. I actually think we could have went two weeks but I'll leave that for another experiment. It definitely takes creativity and research to try to use the same main ingredient over and over again.

I'm currently working on a bread experiment and I just ordered potassium hydroxide so I will be making liquid soap soon (SUPER EXCITED ABOUT THAT).

Until next time,
Kellan

Friday, November 12, 2010

The Chicken Experiment - Midweek Update

This past Sunday I decided to try an experiment this week, that is supposed to be the purpose of this blog. I bought two whole chickens (I did cheat a little because they were cut up but it was cheaper than buying them uncut) and wanted to see 1) how many things I could make and 2) how many days we could eat off those two chicken. It's currently Friday and we still have the meat from one chicken that hasn't been touched yet, these are the preparations I've come up with so far:

Chicken Stock
When I got home from the store the first thing I did was make stock and I did this for two reasons. The first of which being that Kitchen Basics stock, although delicious, is expensive and since the purpose of this experiment is to maximize use of the chicken I had to make the stock. The second reason is that I wanted the chicken to already be cooked because I hate having raw chicken around and I thought it would make cooking easier for the rest of this experiment. 

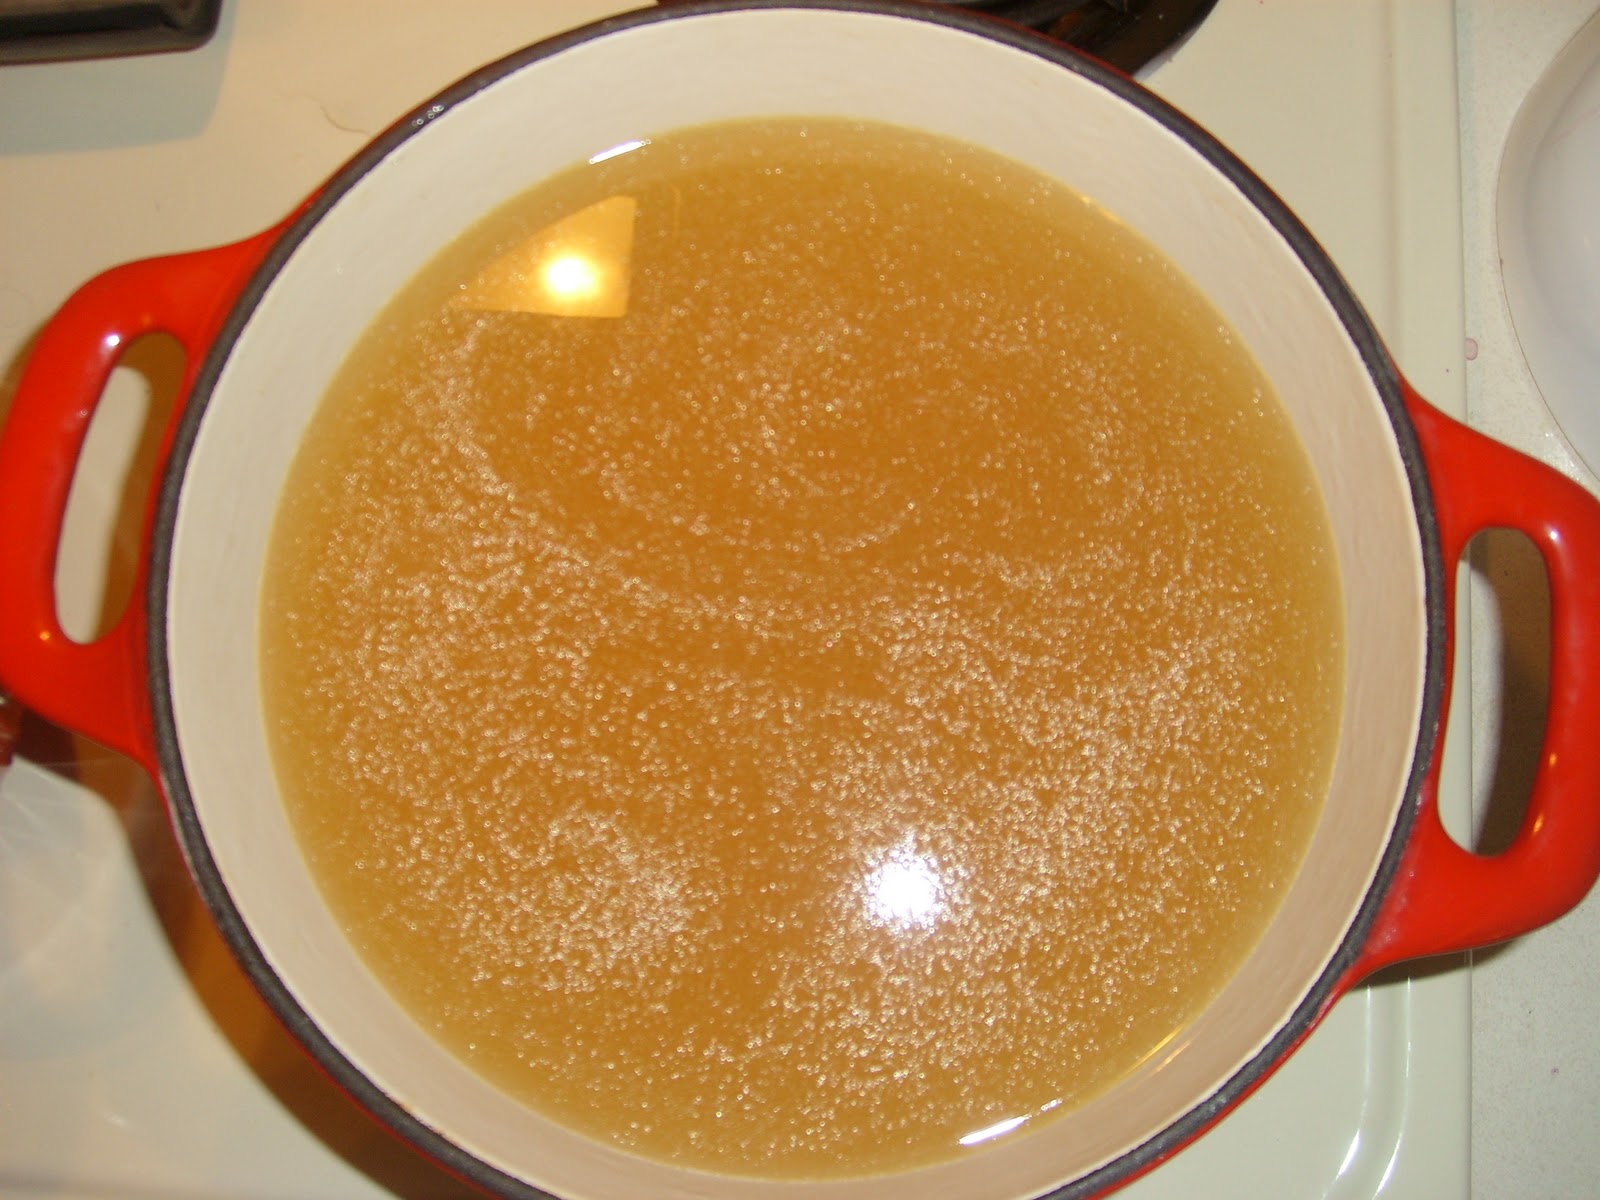
Making stock is actually quite easy. You need chicken, an onion, some celery and carrots. As stated before, I did cheat a little, the chicken was already cut up so I didn't have to bother with that AND I bought baby carrots in a bag from the store. I usually don't by bagged produce but it was on sale for $1 and I couldn't pass that up. I don't have one of those super big stock pots, so I put one chicken in a 5 qt. enameled cast iron dutch oven and the other in my 6 qt crockpot. Throw everything in the cooking vessel of your choosing, cover with water, put the lids on and walk away. 

The chicken that I cooked on the stove was done in about 3 or 4 hours over medium-low heat. The chicken I cooked in  the crockpot on low was done in about 12 hrs. In all honesty the crockpot stock was probably done WAY before 12 hrs but after I finished with the stove batch I went to sleep, the extra time doesn't hurt anything. Strain the liquid away from the solids and pick all the chicken off the bones and VIOLA you have stock. I've read that some people like to leave the veggies and blend it together.............I'm not that kind of girl. I think stock should be clear. *shrugg*

Chicken Salad
I LOVE CHICKEN SALAD, my grandmother makes it all the time and it's always delicious. I don't know why chicken salad is so tasty but it is. Chicken salad is stupidly easy to make, it's chicken, mayo, relish and mustard. People add other things, my grandmother usually adds onions and celery but Dj doesn't like the texture difference so I leave them out. I've heard of people adding craisins and/or grapes......too adventurous for me. 

Chicken Pot Pie
Another super easy chicken dish. Pot pie requires: 
half a large onion
2 potatoes
carrots
2 stalks of celery
4 cups of the stock
4 tbsp cornstarch
1 sheet of puff pastry 
half a chicken worth of picked chicken. 

Cut up the veggies, saute them for a little while and add the stock, reserve about 1/2 cup of stock. 
Add the chicken and simmer for about 10 minutes
Thoroughly mix the reserved stock with the cornstarch and pour into pot with other ingredients
Pour everything in an casserole dish and top with puff pastry. (I usually make designs with the puff pastry but you can just lay the sheet on top if you want)
Bake at 400 degrees for about 15-20 minutes or until golden brown.  

We ate this pot pie for 3 days and I didn't make one that was very big. I still have to figure out tonight and the next few days. I'm open to suggestions. 

Until next time, 
Kellan